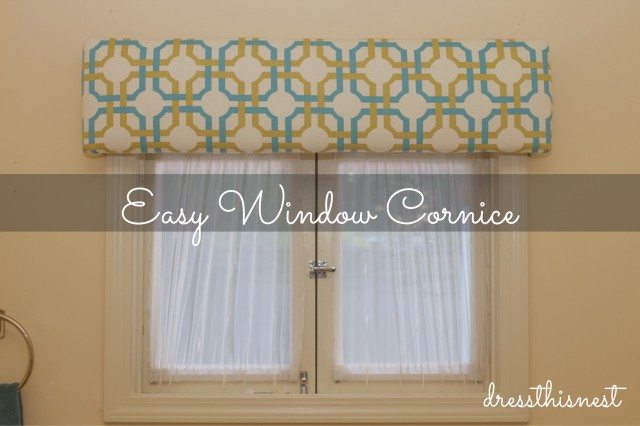
Almost a month ago, I made this list of 1001 things I wanted to accomplish in the next 101 days. #20 on the list, was to make a cornice for our dining room window. We had already added a faux coffered ceiling, crown molding and painted, so the window furnishing would be the finishing touch. I was excited when I found this tutorial by Erin at Clementine & Olive, I was motivated to get it done.
I ordered the fabric and picked up the rest of the supplies at Home Depot and was ready to go. Until I went to cut the wood and realized the window I had in my living room was a lot longer than I had expected. With a piece of wood shorter than my window, I shifted my plan and decided to make a cover for my bathroom window (first) instead.
I am actually really glad I did, because the pre-existing window cover in our bathroom was hideous and it was easier to tackle this (smaller) window first. Erin’s tutorial for this project are really clear, so I didn’t relist all of the steps here, but I did take a few pics of things I did slightly differently.
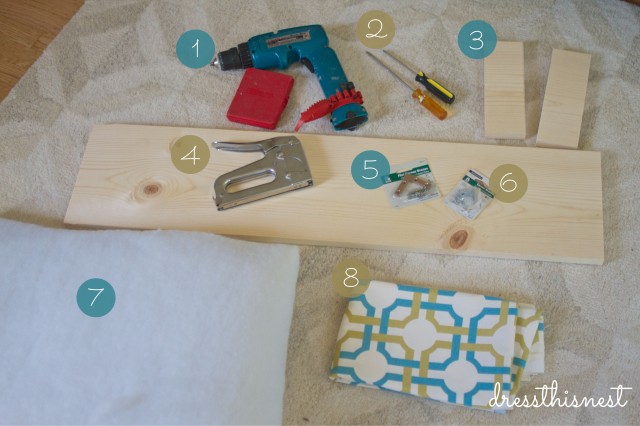
 Here is a list of the supplies I used:
1. Drill
2. Screwdrivers
3. Wood
4. Staple Gun
7. Batting
8. Fabric
 Since my furniture building experience begins and ends at the assembly of IKEA furniture, I pre-drilled the holes into the board because screwing into a solid wood board freaks me out. I placed the flat corner brace where I wanted to it hold the two pieces together and marked it with a pencil. After pre-drilling the holes, it was easy to attach the braces with the included screws. I did this on both the top and bottom of both sides of the cornice, using four flat corner braces in total.
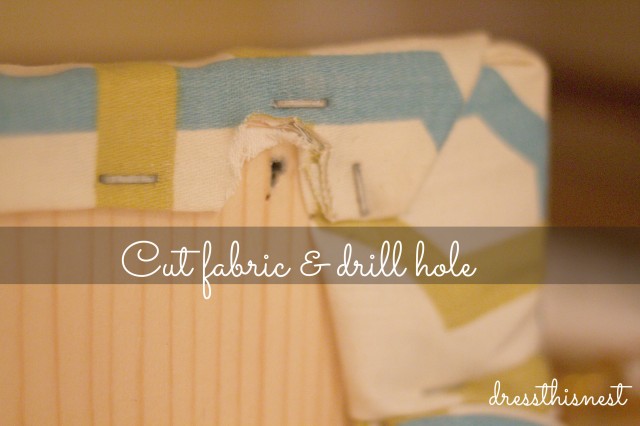
 I was so proud to have upholstered my first piece (it really was a lot easier than I expected), that I was pretty bummed when it came time to hang the thing and we couldn’t figure out how to get it attached. We used the corner braces to attach it to the wall, but with all the fabric in the way, it was difficult to see once you were up on the step stool and holding the thing in the air. So we cut away the fabric where we wanted to attach the corner brace and it made the installation A LOT easier.
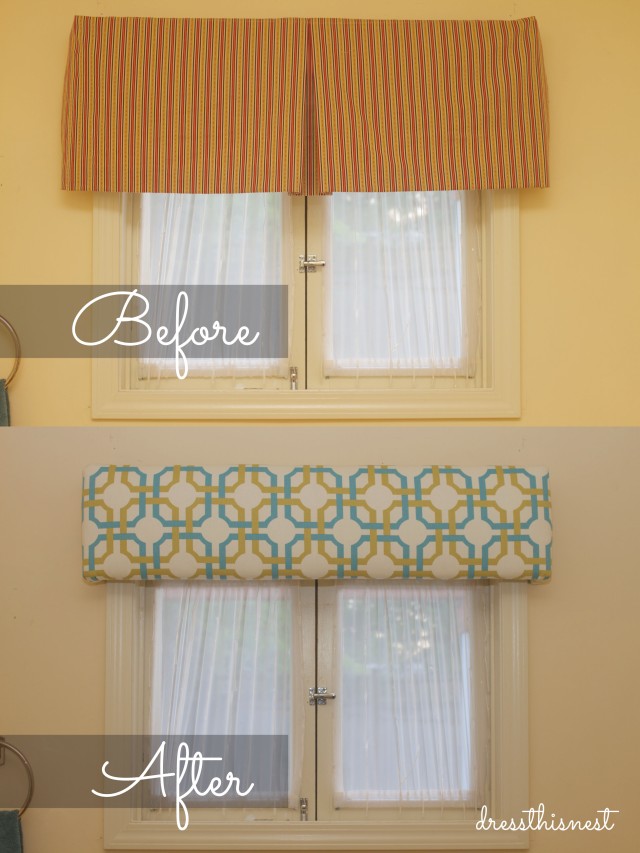
Here is the before and after! We are still planning on getting rid of those lovely sheers, but for now, this is a BIG improvement. I should be posting the dining room window “makeover” soon, so stay tuned for that!


